Create Contract
To create a new smart contract using thirdweb CLI, follow these steps:-
In your CLI run the following command:
-
Input your preferences for the command line prompts:
- Give your project a name
- Choose your preferred framework: Hardhat or Foundry
- Name your smart contract
- Choose the type of base contract: Empty, ERC20, ERC721, or ERC1155
- Add any desired extensions
- Once created, navigate to your project’s directory and open in your preferred code editor.
-
If you open the
contractsfolder, you will find your smart contract; this is your smart contract written in Solidity. The following is code for an ERC721Base contract without specified extensions. It implements all of the logic inside theERC721Base.solcontract; which implements theERC721Astandard.This contract inherits the functionality of ERC721Base through the following steps:- Importing the ERC721Base contract
- Inheriting the contract by declaring that our contract is an ERC721Base contract
- Implementing any required methods, such as the constructor.
- After modifying your contract with your desired custom logic, you may deploy it to Celo using Deploy.
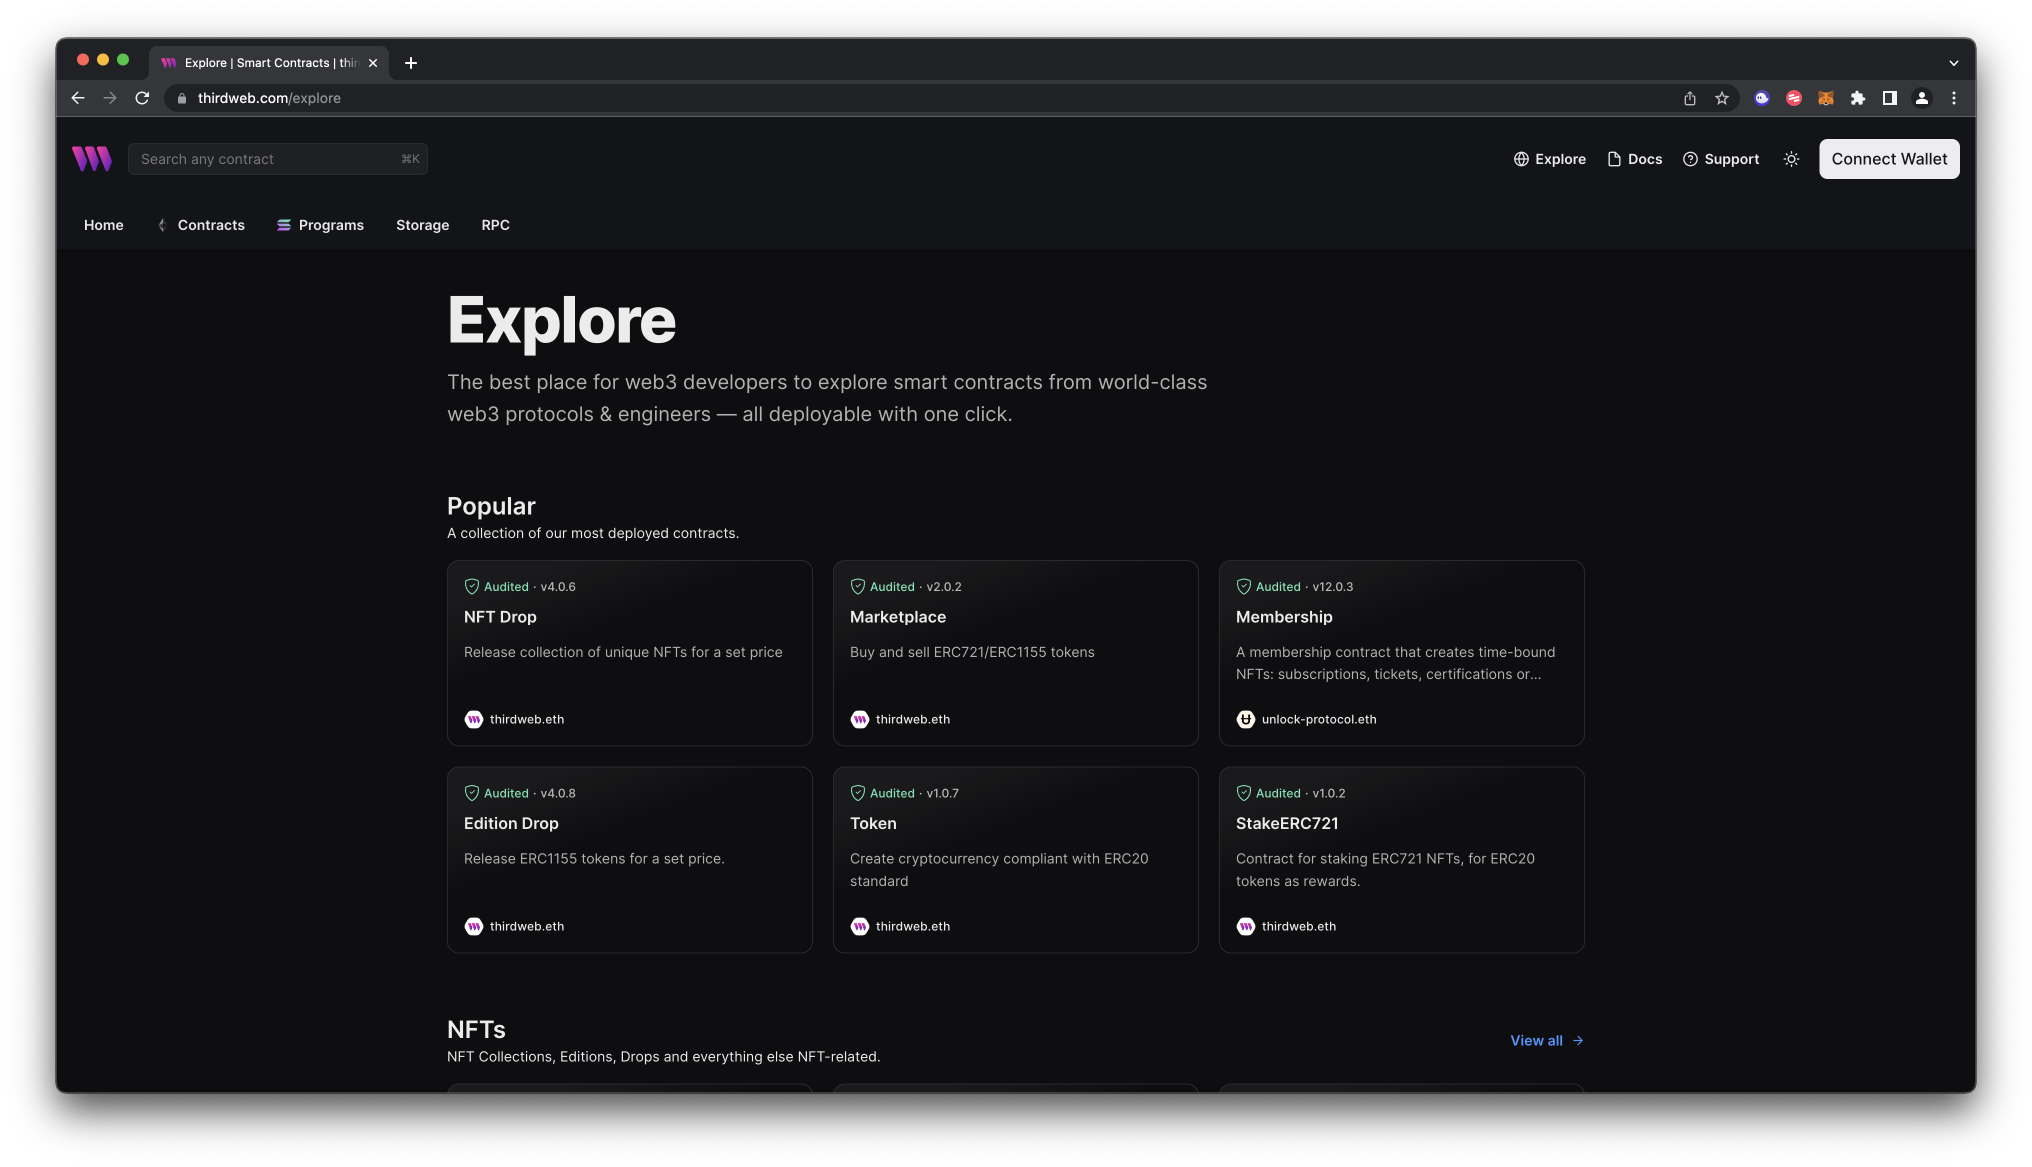
Alternatively, you can deploy a prebuilt contract for NFTs, tokens, or marketplace directly from the thirdweb Explore page:
-
Go to the thirdweb Explore page: https://thirdweb.com/explore

- Choose the type of contract you want to deploy from the available options: NFTs, tokens, marketplace, and more.
- Follow the on-screen prompts to configure and deploy your contract.
For more information on different contracts available on Explore, check out thirdweb’s documentation.
Deploy Contract
Deploy allows you to deploy a smart contract to any EVM compatible network without configuring RPC URLs, exposing your private keys, writing scripts, and other additional setup such as verifying your contract.-
To deploy your smart contract using deploy, navigate to the root directory of your project and execute the following command:
Executing this command will trigger the following actions:
- Compiling all the contracts in the current directory.
- Providing the option to select which contract(s) you wish to deploy.
- Uploading your contract source code (ABI) to IPFS.
-
When it is completed, it will open a dashboard interface to finish filling out the parameters.
_name: contract name_symbol: symbol or “ticker”_royaltyRecipient: wallet address to receive royalties from secondary sales_royaltyBps: basis points (bps) that will be given to the royalty recipient for each secondary sale, e.g. 500 = 5%
- Select Celo as the network
- Manage additional settings on your contract’s dashboard as needed such as uploading NFTs, configuring permissions, and more.

